Security Headers Explained: The 6 That Matter
Security headers tell browsers how to protect your site. Here are the six that actually matter, what each one stops, and how to add them on any host.

Security headers are small instructions your server sends with every page that tell the browser how to protect your visitors. Six of them matter for almost every website: Strict-Transport-Security, Content-Security-Policy, X-Frame-Options, X-Content-Type-Options, Referrer-Policy, and Permissions-Policy. Each one shuts down a specific and well-documented attack, from clickjacking to script injection, and most take a single line of config to add. This article explains what each header does in plain words, gives you the recommended value, and shows exactly how to add them on the hosts people actually use.
Most sites ship with almost none of these headers, not because they are hard, but because the deploy platform does not add them by default and nobody thinks to. That gap is one of the most common findings when you scan a real production site, and it is one of the easiest to close once you know which headers you need.
What are HTTP security headers?
HTTP security headers are lines your server includes in its response, alongside the page itself, that instruct the browser to turn on specific protections. When someone visits your site, the server sends back the HTML plus a set of headers, and the browser reads those headers before it renders anything. A security header is simply one of those lines whose job is to constrain what the page is allowed to do, so that a bug or an injected script cannot be abused as easily.
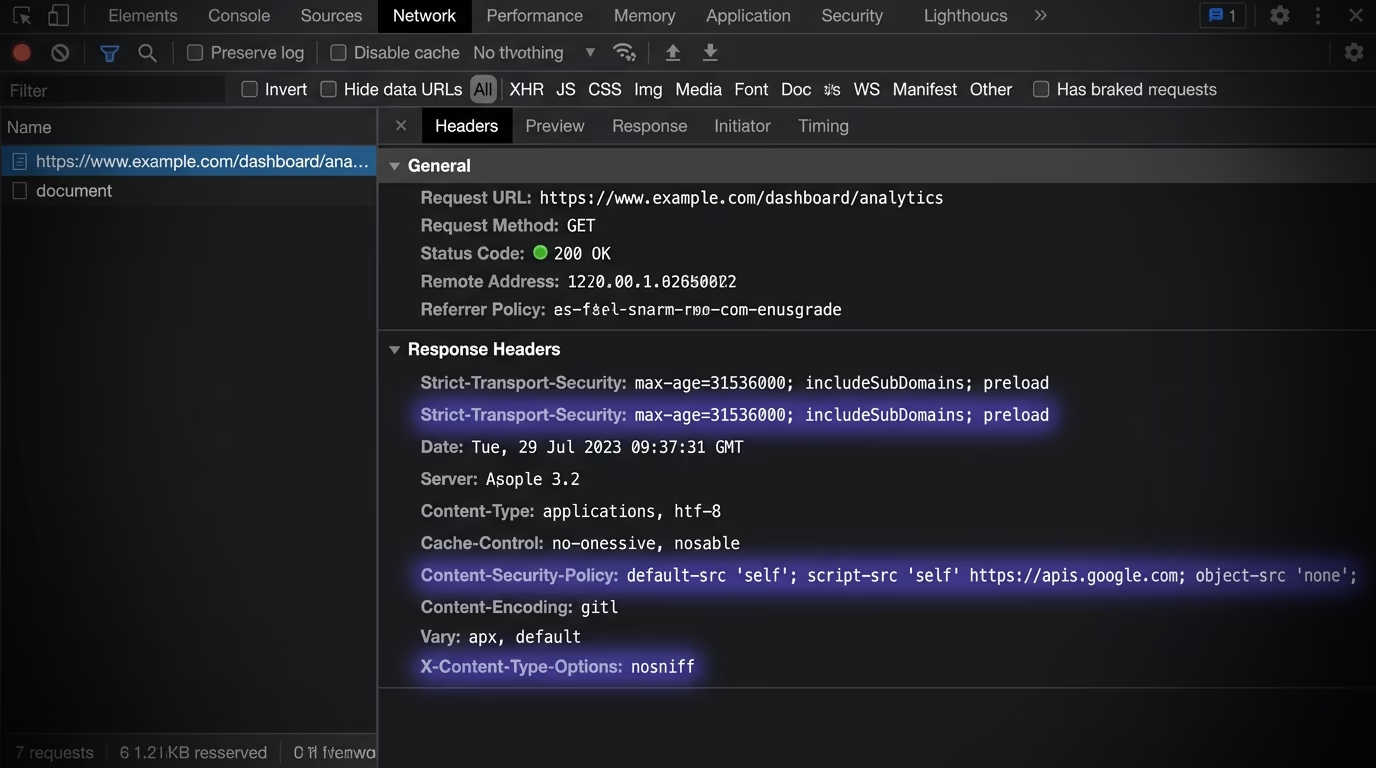
The important thing to understand is that these headers are a set of rules you hand to the browser, and the browser enforces them for you. You are not writing application code or installing a firewall. You are telling every visitor’s browser things like “only connect to me over HTTPS”, “only run scripts from these domains”, and “never let another site embed my pages in a frame”. Because the browser does the enforcing, headers protect your visitors even against bugs you did not know you had, which is what makes them such a good return on a few minutes of work. Sites built quickly with AI coding tools skip them almost universally, which is one of the recurring themes in our writeup on vibe-coding security risks.
Which security headers actually matter?
Six headers cover the attacks that hit real websites, and you can add all six in an afternoon. Here they are in rough order of impact, with the value worth starting from.
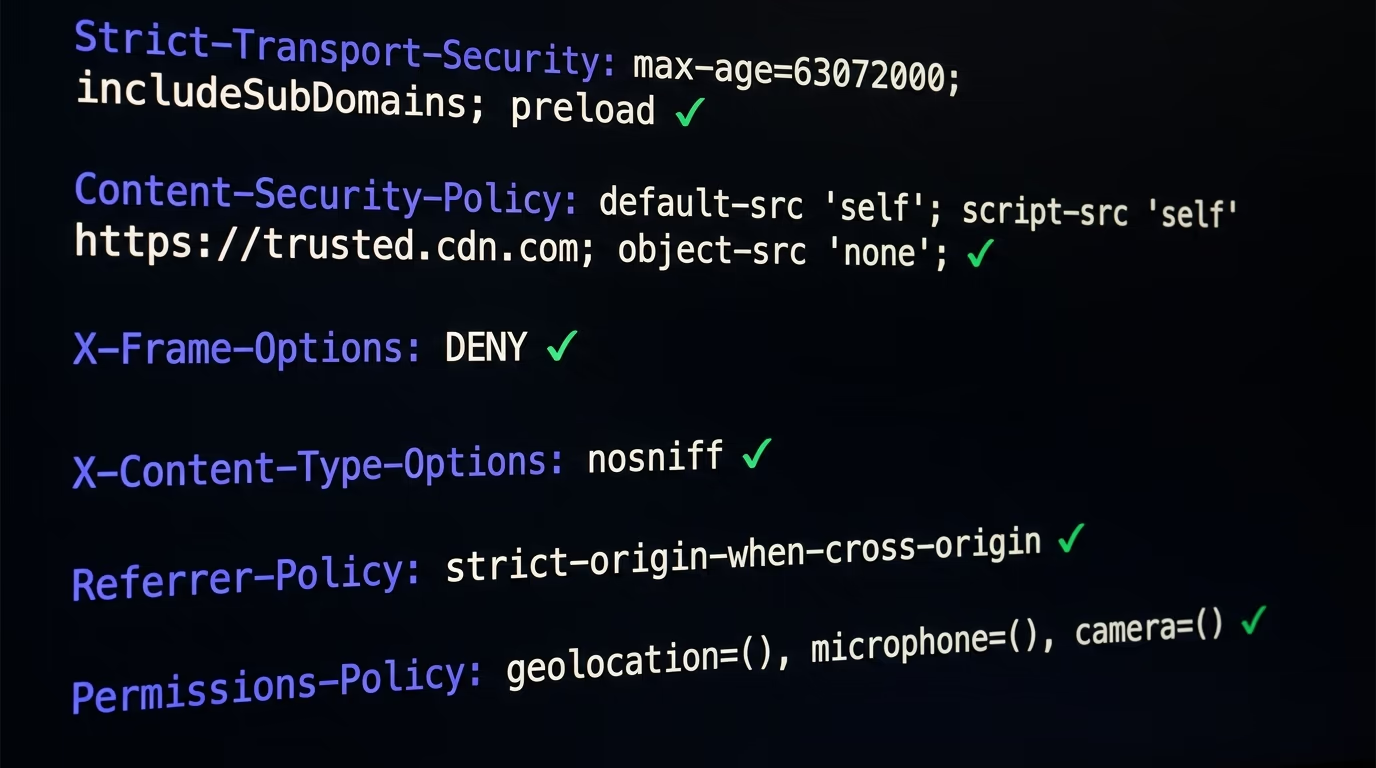
Strict-Transport-Security, known as HSTS, forces every connection to use HTTPS. Once a browser sees the header, it upgrades any future http:// request to https:// before sending it, which closes the small window where a first request over plain HTTP could be intercepted. A solid value is Strict-Transport-Security: max-age=63072000; includeSubDomains; preload. The max-age is how long the browser remembers the rule, in seconds, and two years is a normal choice. The includeSubDomains part extends the rule to every subdomain, so an old http://blog.yoursite.com link cannot become a soft spot. The preload flag is the one to treat with respect, because it asks browser makers to ship your domain on a built-in HTTPS-only list, and getting removed from that list later takes months. Only add preload once you are certain every subdomain you own runs on HTTPS and will keep doing so.
X-Frame-Options stops other sites from loading your pages inside a hidden frame, which is the mechanic behind clickjacking. The attack is worth picturing, because it sounds abstract until you see it. An attacker builds a page with a tempting button, loads your real site in an invisible frame stretched over that button, and lines up your “confirm payment” or “delete account” control exactly where the visitor is about to click. The visitor thinks they clicked the attacker’s harmless button, when the click actually landed on your live page while they were logged in. The value is short and absolute at X-Frame-Options: DENY, and if you genuinely need your own pages to frame each other you can use SAMEORIGIN instead. X-Content-Type-Options solves a quieter problem, which is browsers guessing the type of a file when the server does not state it clearly. If a user uploads a file you serve back, a browser that sniffs the content can decide a file you thought was a harmless image is actually HTML with a script inside, and run it. The single value X-Content-Type-Options: nosniff turns that guessing off entirely, so the browser trusts the type you declared and nothing else.
Referrer-Policy controls how much of your URL travels to other sites when a visitor clicks a link or your page loads a third-party resource, which matters because full URLs can leak tokens, internal paths, or account identifiers. A sensible default is Referrer-Policy: strict-origin-when-cross-origin, which sends the full address within your own site and only the bare domain to outsiders. Permissions-Policy lets you switch off browser features your site never uses, so that an injected script cannot quietly reach for the camera, the microphone, or geolocation. A good starting point is Permissions-Policy: geolocation=(), camera=(), microphone=(), which denies all three, and you can open up any feature you actually need. The sixth header, Content-Security-Policy, is the most powerful of the group and the one most sites get wrong, so it gets its own section below.
You might have seen much longer lists than this, because the full reference from OWASP runs to more than twenty headers, including cross-origin isolation controls and legacy entries kept only for old browsers. Most of those either apply to narrow cases, like sites that embed cross-origin resources under strict isolation, or they are deprecated, like X-XSS-Protection, which modern guidance says to disable rather than set. The six above are the ones that earn their place on an ordinary marketing site, a store, or an app dashboard, and adding them puts you ahead of the large majority of live sites. Once those are solid you can look at the cross-origin family, but chasing all twenty before you have the basics is effort spent in the wrong order.
How do you add security headers to your site?
You add security headers wherever your site sends its responses, and the exact place depends on your host rather than your framework. This is the part most guides skip, so here is the concrete version for the platforms people actually deploy to.
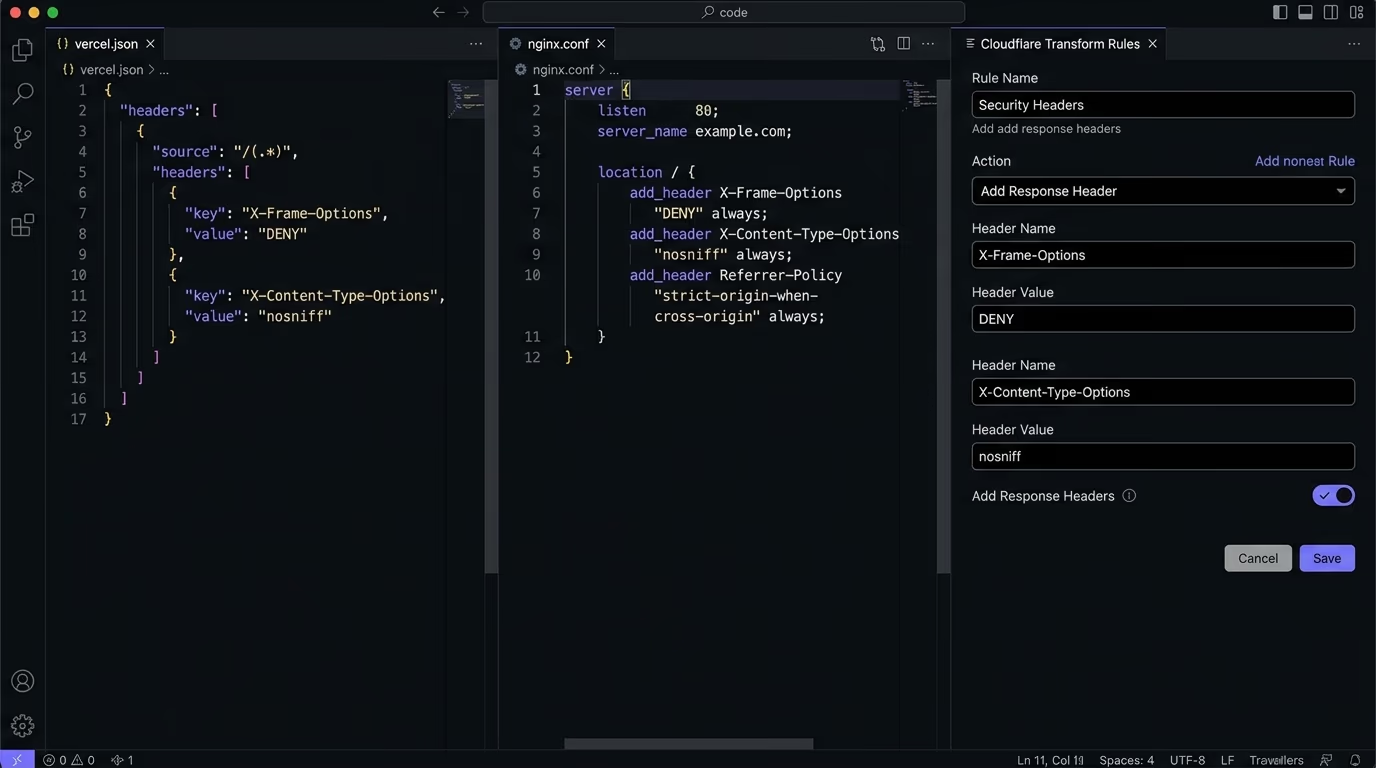
On Vercel and Netlify you add a headers block to the project config, listing each header and its value against a path pattern like /*. In vercel.json that looks like this:
{
  "headers": [
    {
      "source": "/(.*)",
      "headers": [
        { "key": "Strict-Transport-Security", "value": "max-age=63072000; includeSubDomains; preload" },
        { "key": "X-Frame-Options", "value": "DENY" },
        { "key": "X-Content-Type-Options", "value": "nosniff" },
        { "key": "Referrer-Policy", "value": "strict-origin-when-cross-origin" }
      ]
    }
  ]
}
The platform attaches those headers to every matching response, and a redeploy makes them live. On Cloudflare you have two options that both work well: a Transform Rule that adds response headers from the dashboard with no code, or a small Worker if you want the logic in version control. In Next.js you return the headers from the headers function in next.config.js, which is the cleanest option when you want your security policy to live next to your app:
async headers() {
  return [{
    source: "/:path*",
    headers: [
      { key: "Strict-Transport-Security", value: "max-age=63072000; includeSubDomains; preload" },
      { key: "X-Frame-Options", value: "DENY" },
      { key: "X-Content-Type-Options", value: "nosniff" },
    ],
  }]
}
Our walkthrough on how to secure a Next.js and Supabase app shows this in the context of a full stack, alongside the database rules that matter just as much.
Traditional servers are just as direct. On Nginx you use add_header inside the server block, one line per header, then reload the config:
add_header Strict-Transport-Security "max-age=63072000; includeSubDomains; preload" always;
add_header X-Frame-Options "DENY" always;
add_header X-Content-Type-Options "nosniff" always;
add_header Referrer-Policy "strict-origin-when-cross-origin" always;
The always keyword matters, because without it Nginx skips the header on error responses like a 404, which is exactly where an attacker probes. On Apache you set the same values with mod_headers in your .htaccess or virtual host, using a Header set line per header. On WordPress you can let a security plugin manage the headers, or set them at the host or CDN level if your provider exposes that, which keeps them working even when you switch themes. Whichever route you take, the rule is the same, which is that a header only counts once the live browser response actually contains it, so the last step is always to verify rather than assume.
What is a Content Security Policy and why is it hard?
A Content Security Policy is the header that tells the browser exactly which sources are allowed to load scripts, styles, images, and other resources on your pages, and it is the strongest protection you have against cross-site scripting. When an attacker manages to inject a <script> tag through a form field or a comment, a good CSP means the browser simply refuses to run it, because the attacker’s source is not on your allow-list. That is a genuinely powerful guarantee, and it is why CSP sits at the top of every serious security review.
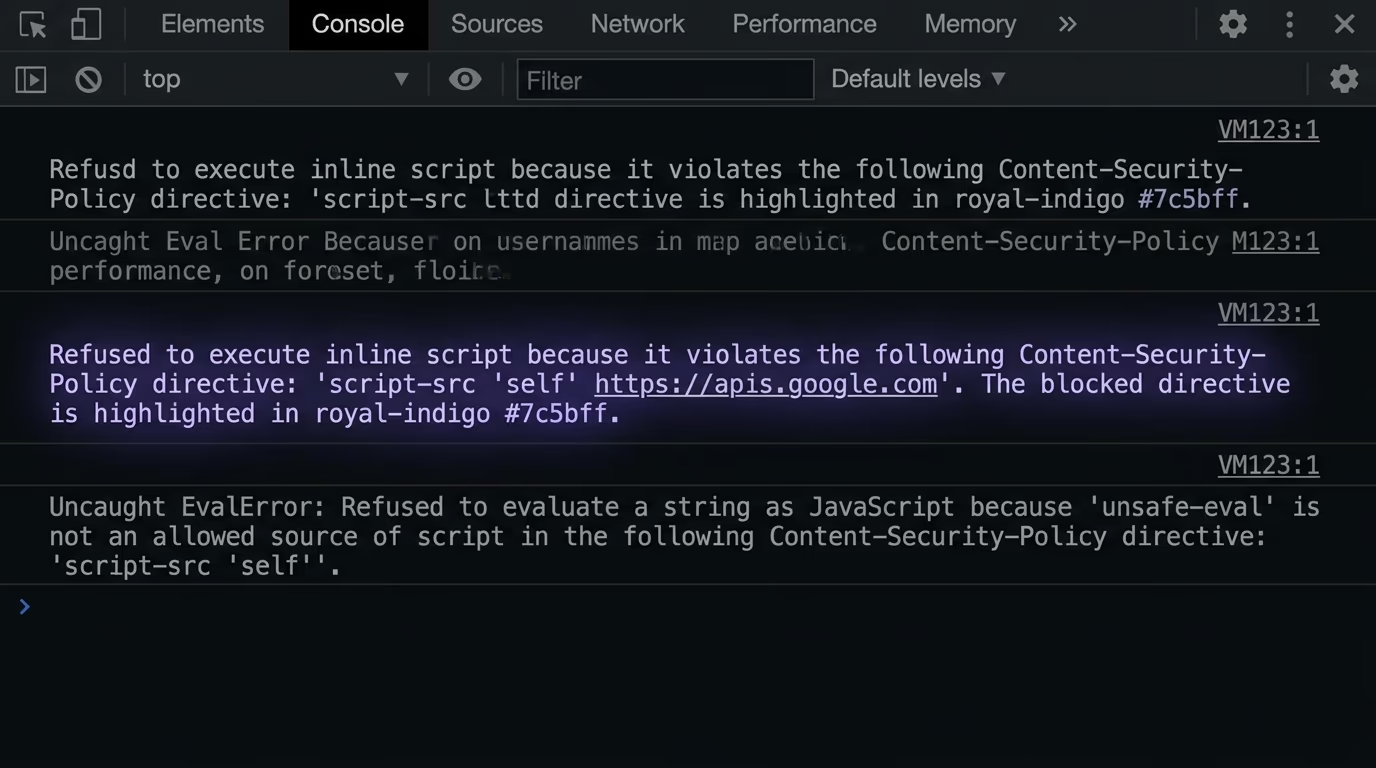
The reason CSP is hard is the same reason it is powerful. A real website usually loads scripts from more places than its owner realizes, including analytics, a tag manager, embedded videos, a chat widget, and a payment provider, and a strict policy blocks every source you forgot to list. Turn CSP on cold and you will often break your own site before you break an attacker’s. A reasonable starting policy looks like this, and you widen it from here:
Content-Security-Policy: default-src 'self'; script-src 'self'; object-src 'none'; frame-ancestors 'none'; base-uri 'self'That says load everything from your own domain by default, run scripts only from your own domain, block plugins entirely, refuse to be framed, and stop anyone from rewriting your page’s base URL. The safe way to roll it out is report-only mode first with Content-Security-Policy-Report-Only, which tells the browser to report what it would have blocked without actually blocking anything. You watch those reports for a week, add the legitimate sources you find, and only then switch to the enforcing Content-Security-Policy header once the allow-list matches how your site really behaves. Done this way, CSP goes from the header most likely to cause an outage to the one that quietly prevents the worst class of attack, which is why it belongs on the roadmap of any site that handles logins or payments.
How do you test your security headers?
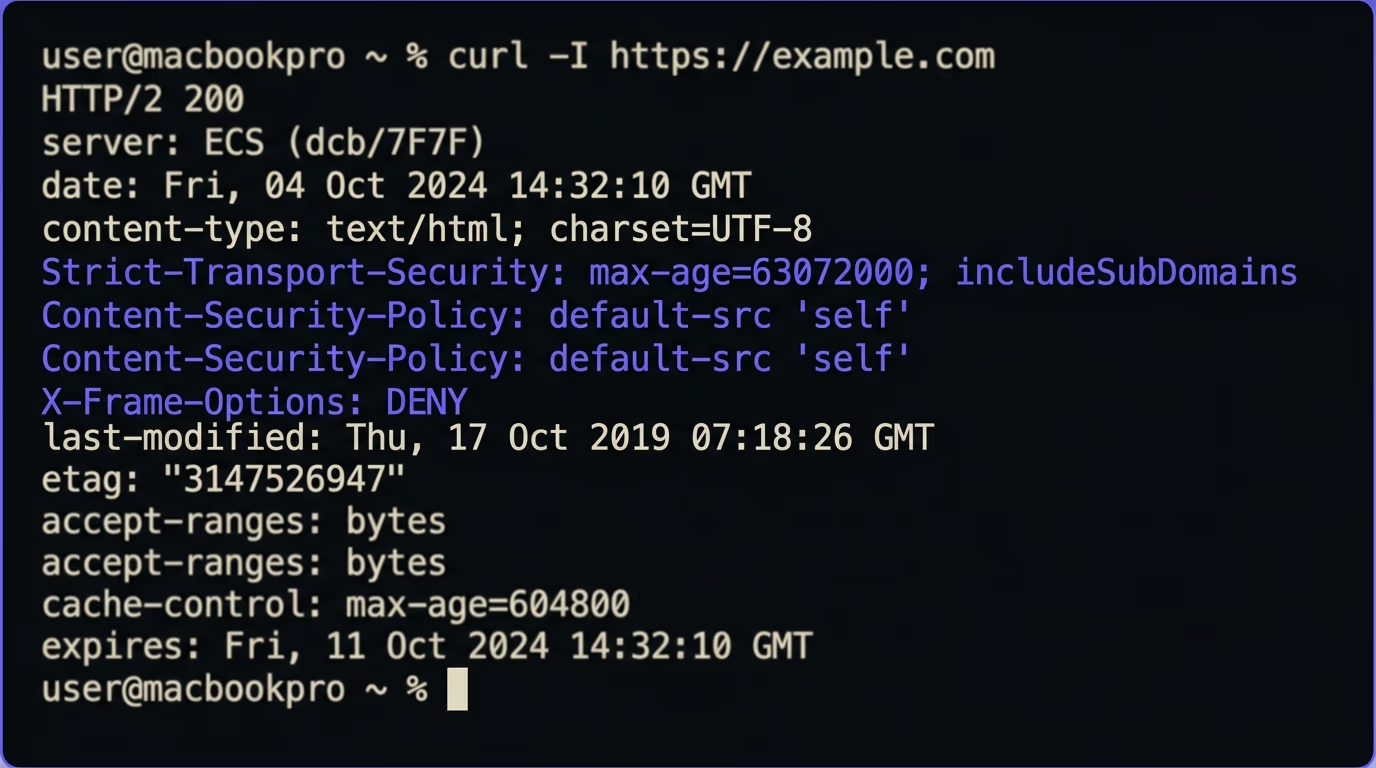
You test your security headers by reading the actual response the browser receives, because a header you added in config only counts if it survives all the way to the visitor. The quickest manual check is curl -I https://yourdomain.com, which prints the response headers in your terminal so you can see at a glance which of the six are present. The browser route is just as reliable: open DevTools, select the main document request in the Network tab, and read the response headers list.
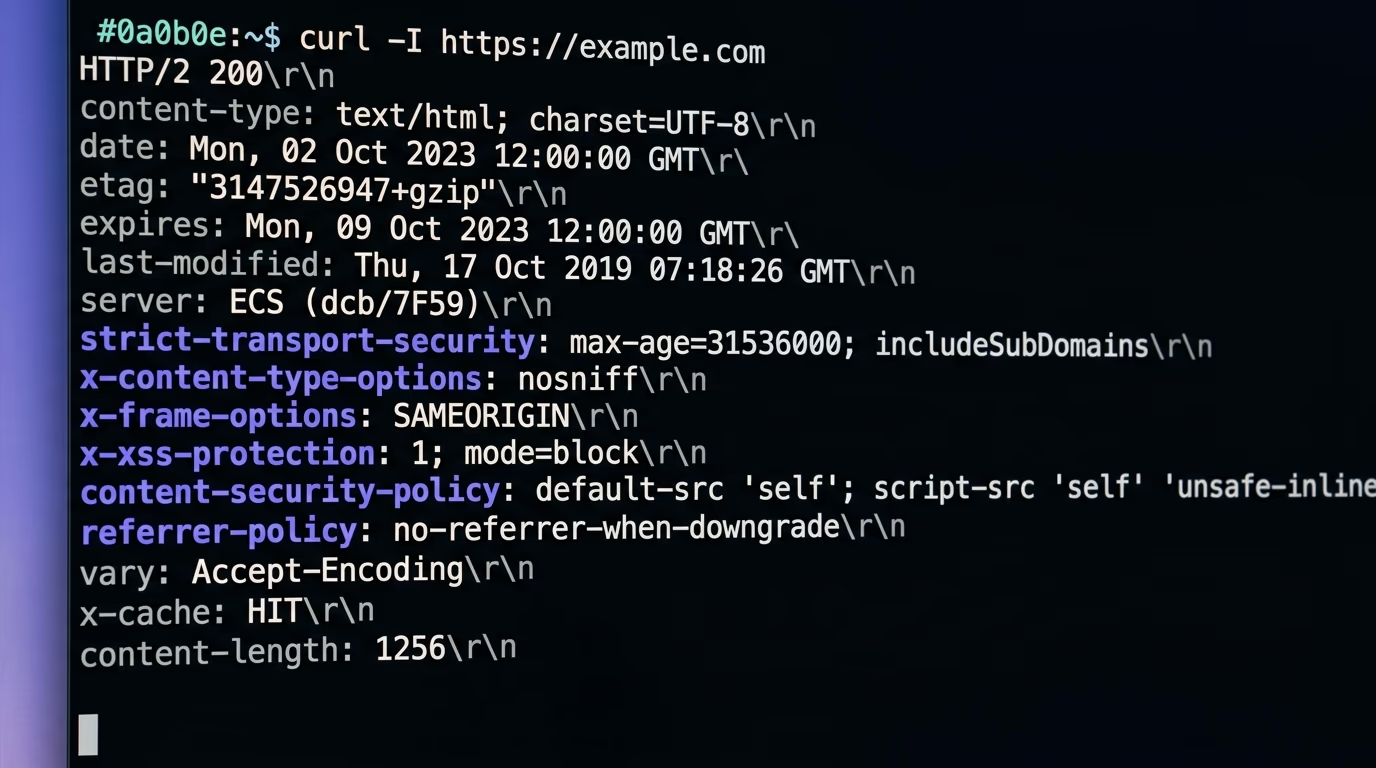
Free grading tools go a step further than a raw header dump. A scanner will fetch your site, list what you send, and assign a grade, which is a fast way to see how you compare to a baseline. The catch with the popular ones is that they usually grade a single URL and score the presence of a header more than the strength of its value, so a site can post a respectable letter grade while its CSP allows almost anything.
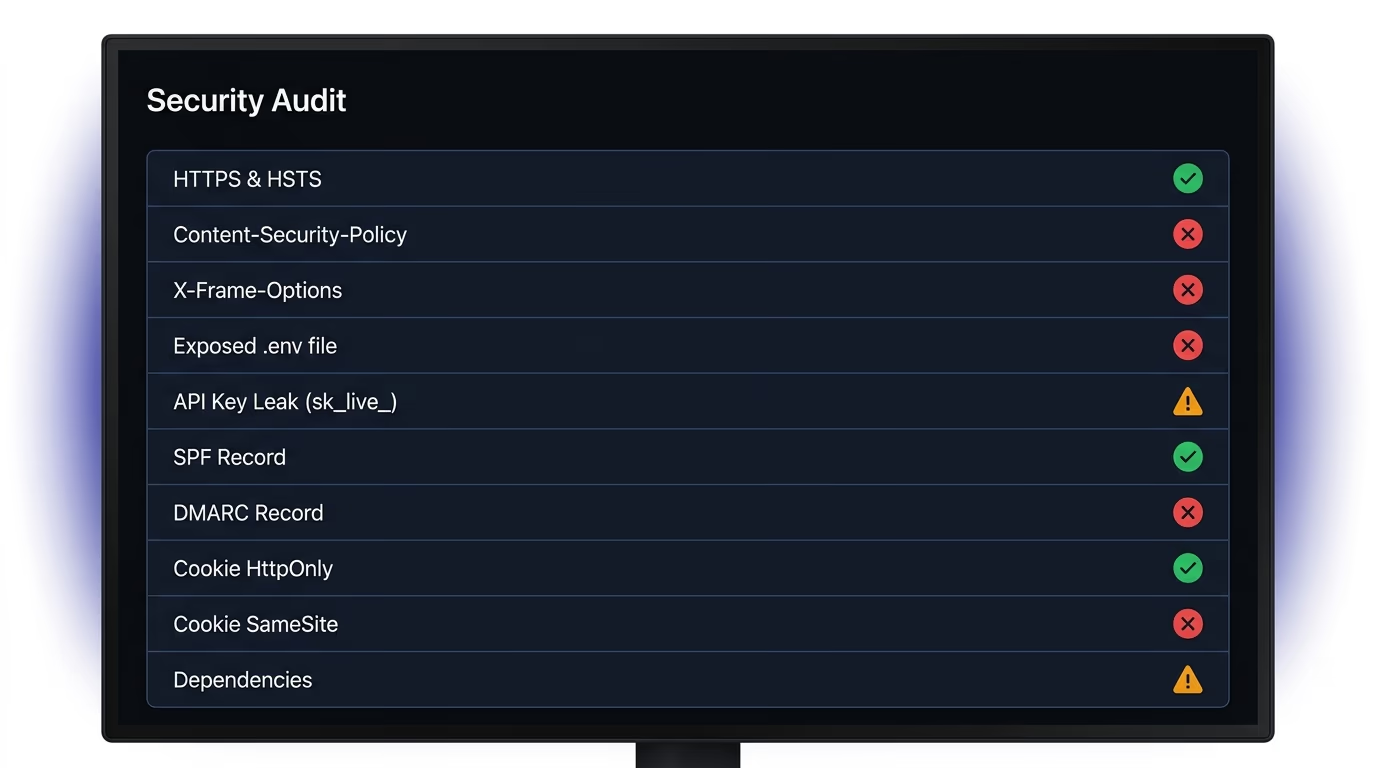
Manual checks are fine for one page, but they miss two things that matter. They only test the page you happen to look at, and they tell you a header exists without telling you whether its value is actually safe, since a weak CSP or an HSTS with a tiny max-age can look present while protecting almost nothing. A login page, an admin route, and a marketing page can each send different headers depending on how they are served, so the page you spot-check is rarely the one that matters most. This is where a scan earns its place. Amabrik’s security scan crawls your live site, reports every security header you send and every one you are missing across your real pages, flags weak values rather than just absent ones, and gives you a plain-language fix plus a copy-paste snippet for each gap. It also checks the things headers sit next to in a real audit, like exposed keys and insecure cookies, which we cover in full in the website security checklist. The point of testing is not to admire a green score, it is to turn “I think I set those” into “the browser confirms every visitor is protected”.
Close the header gaps a scan finds
Security headers are the rare security win that is both high impact and genuinely quick. Six headers stop clickjacking, script injection, protocol downgrades, MIME confusion, referrer leaks, and feature abuse, and adding them is a matter of one config block on whatever host you already use. The only real work is CSP, and even that is manageable once you roll it out in report-only mode and widen the allow-list to match your real dependencies.
The honest way to finish is to verify rather than trust your memory of what you configured. Run a security scan against your live domain, read the list of headers you are actually sending, and fix the ones that come back missing or weak. Most sites discover they were shipping two headers when they needed six, and closing that gap is often an afternoon that removes a whole category of risk. You can run a free website security check or point Amabrik’s full security scan at your site and have the full list, with a fix for each finding, in a couple of minutes.
Six headers matter for almost every site: Strict-Transport-Security (HSTS) to force HTTPS, Content-Security-Policy (CSP) to block injected scripts, X-Frame-Options to stop clickjacking, X-Content-Type-Options to stop MIME sniffing, Referrer-Policy to control what you leak in the referrer, and Permissions-Policy to switch off browser features you never use. HSTS and CSP do the heaviest lifting; the other four are quick wins that take minutes to add.
You set them wherever your site sends its responses. On Vercel and Netlify you add a headers block to the config file. On Cloudflare you use a Transform Rule or a Worker. In Next.js you use the headers function in next.config.js. On Apache you use mod_headers in .htaccess, and on Nginx you use add_header in the server block. On WordPress a security plugin or your host's dashboard can set them. After adding them, run a scan to confirm the browser actually receives every header.
HTTPS encrypts the connection once it is established. HSTS is a header that tells the browser to only ever connect over HTTPS for your domain, so it upgrades any http:// request to https:// before sending anything. Without HSTS, the very first request can travel over plain HTTP, which leaves a small window for interception. HTTPS is the lock; HSTS makes the browser refuse to open the door without it.
CSP is powerful because it lists exactly which sources are allowed to load scripts, styles, and other resources, and the browser blocks everything else. That same strictness is what breaks sites, because a real page often pulls scripts from analytics, embeds, and tag managers that you have to allow one by one. The safe path is to deploy CSP in report-only mode first, watch what it would have blocked, and only switch to enforcement once the allow-list matches your real dependencies.
Indirectly, yes. HTTPS enforcement through HSTS is a trust and ranking signal, and headers that prevent your site from being framed or defaced protect the reputation search engines associate with your domain. Headers will not rank a thin page, but a site that fails basic security checks looks worse to both users and crawlers, and a defacement or mixed-content warning can cost you traffic overnight.
Open your site in a browser, open DevTools, click the main document request in the Network tab, and read the response headers. For a faster and more complete answer, run a security scan that fetches your live pages, lists every header you send and every one you are missing, and explains how to fix each gap. Amabrik's security scan does this and gives you a copy-paste fix for each missing header.